Removing Your Lawn and Installing Artificial Turf in Denver: The Complete Process

This article isn't for homeowners who are still on the fence. If you're here, you've already made the call — the bluegrass is going, and you're putting artificial turf in its place. What you need now is the actual process: how the removal works, what goes into the ground before the turf goes down, how long the whole thing takes, and what it's going to cost you from start to finish.
Grass removal and turf installation in Denver is a five-to-seven day project for a standard residential yard, done right. We're going to walk through every phase — including the part most installers rush through, which is the base preparation. That's where the difference between a twenty-year installation and an eight-year problem gets made.
Xeris Landscaping does lawn removal and artificial turf installation across Denver and the Front Range. Here's exactly how we do it.
$11–20
Total Installed Cost Per Sq Ft
5 days
Typical Project Timeline
3–4 in
Required Excavation Depth
The Denver Water Rebate Filled Up — Here's What to Do Next
If you were planning to use the ColoradoScape rebate to offset your conversion project, you've probably already hit a wall. The program's 2026 capacity filled up before April was over. Denver Water allocated its budget for the year, and if you didn't get your application in early, you're waiting until 2027.
That's frustrating — but it doesn't change the math on artificial turf. The rebate was never the whole story anyway. It offset a portion of the installation cost for qualifying projects, but the long-term water savings, elimination of mowing, and end of chemical inputs are the real financial case for removing natural grass. Those don't go away because the rebate program is closed.
What the rebate situation does change is your timeline. If you were waiting for rebate approval before proceeding, you don't need to wait anymore — there's nothing to wait for. The decision is now purely about what you want in your yard and what you're willing to spend to get there.
Artificial turf is the logical next step for Denver homeowners who want to get off natural grass entirely. You eliminate the water bill, the mowing schedule, the fertilizer runs, the overseeding, and the annual fight against drought stress. The upfront cost is real — $11–$20 per square foot all-in — but the ongoing cost is close to zero. Here's how the installation process actually works.
Step 1: Lawn Removal — Three Ways to Get the Grass Out
Before a single roll of turf touches the ground, the existing lawn has to come out — grass, roots, and all. There are three methods. Each has different cost and timeline tradeoffs, and one of them isn't appropriate for turf prep at all.
-
✓
Sod cutter — recommended — A gas-powered sod cutter slices just below the root zone and rolls the turf out in strips. Rental runs $150–$200 per day; you can do a 500–1,000 sq ft yard in a day if you're in decent shape. This is the method contractors use for most projects — it's fast, clean, and removes the bulk of the root mass in one pass. Disposal is on you: sod strips are heavy, and you'll need a truck or dumpster. Some contractors include haul-away; others charge $200–$500 extra depending on volume.
-
✓
Contractor removal — the hands-off option — Hiring a contractor to handle removal runs $1–$2 per square foot and includes the equipment, the labor, and in most cases the haul-away. If you're not comfortable operating a sod cutter or don't have a way to dispose of the material, this is the right call. Confirm haul-away is included in writing — it's the most common line item that gets added to the bill after the fact.
-
⚠
Chemical removal — not appropriate for turf prep — Glyphosate kills the grass, but it leaves the dead root mass in place. For a native plant or xeriscape installation where the roots will break down and amend the soil, that's fine. For artificial turf, it's a problem — dead organic matter decomposes under the turf, creating an uneven base that shifts and settles over time. Chemical removal is the slowest option anyway (two to four weeks before you can proceed), and it leaves you with a base prep problem. Skip it.
What Happens to the Old Grass
This is a practical question that doesn't get answered often enough. Sod strips are dense, wet, and surprisingly heavy — a 500 sq ft lawn produces somewhere between 1,500 and 2,500 pounds of material. Here are your options:
- On-site composting — if you have the space and the time, grass strips can be stacked upside down and composted in place. Takes 6–12 months. Free, but requires somewhere to put the pile.
- Municipal compost drop-off — Denver and most Front Range municipalities accept sod at their composting facilities, typically for free or a small fee per load. You need a truck or trailer to haul it.
- Landfill disposal — fastest option, but you'll pay tipping fees. Budget $50–$150 depending on volume and facility. Most roll-off dumpster services will take sod but charge extra for the weight.
- Contractor haul-away — if your contractor is handling removal, confirm this is in scope. Some include it in the $1–$2/sq ft removal rate. Others price it as a separate line. Either is fine — just know before you sign.
Base Preparation: The Part That Determines Whether Your Install Lasts 8 Years or 20
If there's one section of this article to read twice, it's this one. The turf itself is nearly impossible to mess up — modern artificial turf products are engineered to last. The base is where installs succeed or fail, and it's where contractors who are competing on price consistently cut corners.
Here's what proper base prep looks like in Denver's clay soil conditions.
Excavation — 3 to 4 Inches
After the sod is out, the soil is excavated to a depth of 3–4 inches below the desired finished grade. Denver's clay soil doesn't compact evenly and doesn't drain well on its own — you're essentially replacing it with an engineered base that does both. Less than 3 inches and you don't have enough base material to do the job. Some installers go to 2 inches on flat yards to save time. That's a warranty problem waiting to happen.
Crushed Aggregate Base — Class II Base Rock, 3/4" Minus
The excavated area is filled with class II crushed aggregate base — 3/4" minus is the standard spec. This material compacts tightly, drains freely, and provides a stable, level surface for the turf. The aggregate is spread in layers and mechanically compacted with a plate compactor. Trying to compact by hand or skipping compaction entirely is the other common shortcut — it shows up as soft spots and turf movement within a year or two.
Drainage Slope — Minimum 1% Grade
Water that doesn't have somewhere to go will pool under your turf and eventually degrade the base. The compacted aggregate surface needs a minimum 1% slope away from structures — meaning at least 1 inch of drop for every 8 feet of horizontal run. On a flat lot, this grade is built into the base prep. It's not an afterthought; it's part of the design.
Weed Barrier
A geotextile weed barrier membrane goes down after compaction and before the turf. This isn't a substitute for proper base prep — it's a final layer that blocks residual weed seeds in the soil from finding their way up through the aggregate and into the turf pile. Use the fabric, but don't let any installer tell you it replaces excavation.
The Install: Turf Roll-Out Through Finished Product
Once the base is prepped, compacted, and ready, the turf installation itself moves quickly. A well-prepped site makes the installation straightforward. Here's how it goes.
Roll-Out and Seaming
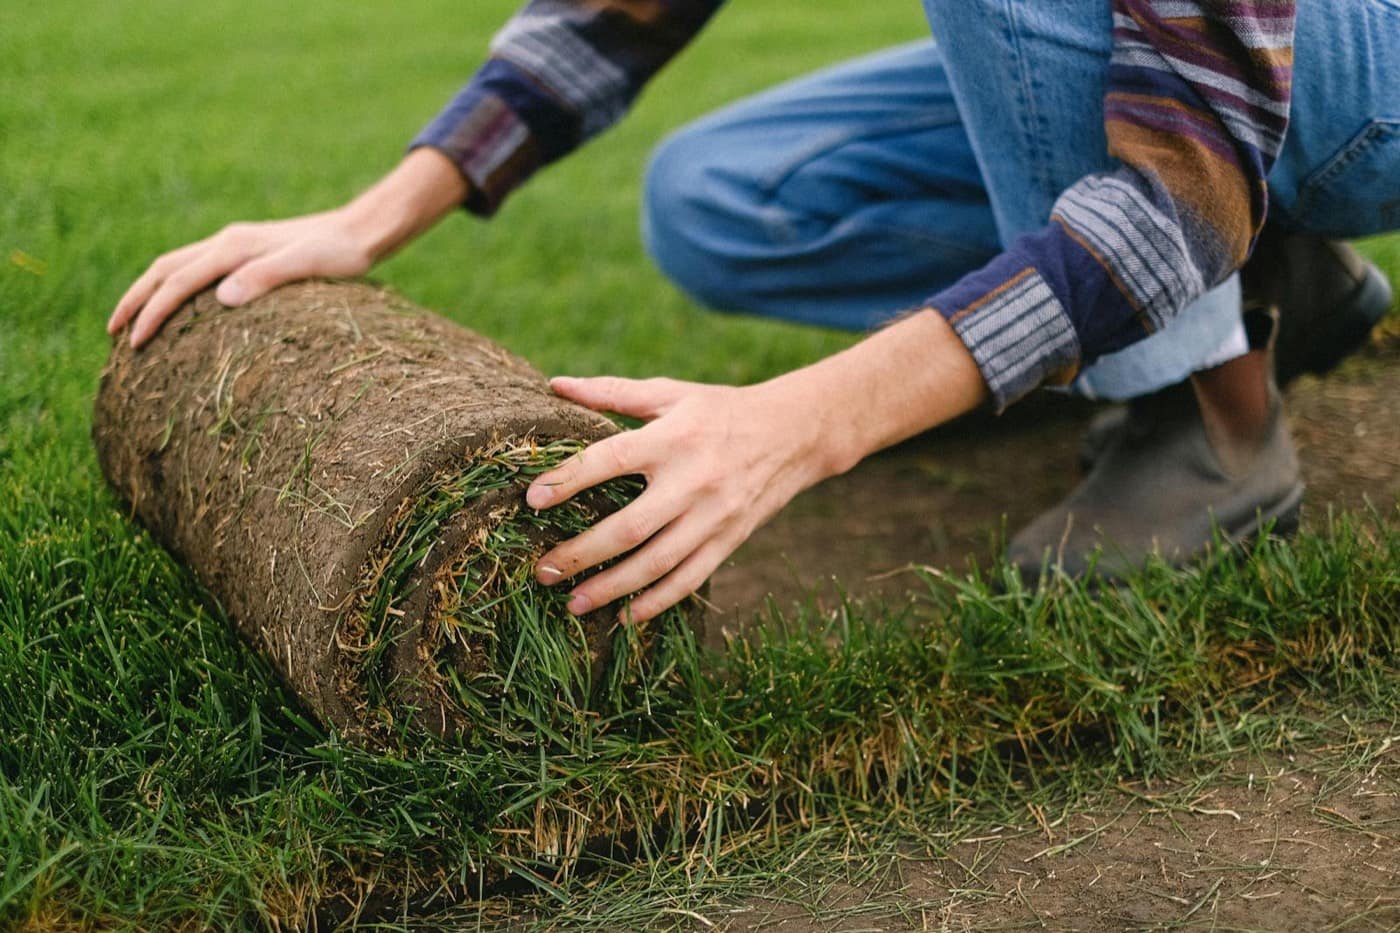
Turf comes in rolls, typically 15 feet wide. The crew rolls it out across the prepared base, orienting the pile direction consistently across the entire area (grass fibers have a grain — mixing orientations creates visible seam lines). For areas wider than 15 feet, seams are required.
Seaming is the most skill-dependent part of the install. Seams are cut, joined with seam tape and outdoor-rated adhesive, and positioned so they're perpendicular to the primary viewing angle wherever possible. A well-done seam is nearly invisible. A poorly done seam is obvious within a year as the edges curl or separate.
The perimeter is anchored with 60d galvanized nails or staples driven through the turf backing into bender board — a flexible PVC or aluminum edging material that runs around the perimeter of the installation area. Bender board keeps the turf edge locked down and provides a clean transition to adjacent surfaces like concrete, pavers, or planting beds.
Infill and Brushing
After the turf is positioned and anchored, infill material is spread across the surface and worked into the pile. Infill provides ballast (keeps the turf from moving), supports the fiber blades upright, and affects heat performance and drainage.
The most common infill options in Denver:
- Silica sand — standard, affordable, performs well in most residential applications
- Cork/coconut (Corkonut) — runs cooler than silica sand on hot Denver summer days, drains well, no PFAS concerns. Higher cost per bag, worth it for areas where you spend time sitting or playing
- Crumb rubber — recycled tire material, cheapest option. Heat retention is a real issue in Denver's direct sun, and PFAS concerns have led many homeowners to avoid it for residential use
Once the infill is in place, the crew uses a power broom or stiff bristle brush to work the infill down through the pile and lift the turf fibers upright. This step is what gives freshly installed turf that full, natural-looking appearance. The yard is then blown or raked clean of debris, and the installation is done.
Project Timeline — What to Expect Day by Day
For a standard residential project in the 500–1,000 sq ft range, here's a realistic timeline:
- Days 1–2: Sod removal. Crew strips the existing lawn with a sod cutter, loads and hauls material. Larger yards or difficult access may push this to two full days.
- Days 2–3: Base prep. Excavation to depth, aggregate delivery and spread, compaction in passes, drainage slope verification, weed barrier installation. This is the phase that can't be rushed — compaction needs to happen in layers, not all at once.
- Days 4–5: Turf installation. Roll-out, seaming, perimeter anchoring, infill spread, power brooming, final cleanup.
Add a buffer week for weather delays — Colorado weather in spring and fall can interrupt base prep work, and you don't want to compact wet aggregate or install turf in a downpour. Most projects we schedule in the Denver metro complete within 7–10 calendar days from start to walkthrough.
5 Questions to Ask Your Contractor About Base Prep
Base prep is where the spread between a quality install and a cut-rate install lives. These questions will tell you which one you're getting before you sign anything.
-
?
What is your excavation depth spec? — Get a number in inches, in writing. Anything less than 3 inches in Denver's clay soil is a red flag. If they don't have a spec — or tell you it depends — that tells you exactly how much thought is going into your base.
-
?
What aggregate material are you using, and what is the spec? — Class II base rock, 3/4" minus is the standard. Ask what they're using and why. A contractor who can't answer this question is not sweating the details on your base.
-
?
How do you achieve compaction — and how many passes? — Plate compactor, multiple passes. That's the answer. Hand tamping on a residential install is not adequate compaction. If they're not using powered equipment, the base will shift.
-
?
How do you handle drainage slope on a flat lot? — Every install needs a minimum 1% grade away from structures. On flat Denver lots, that grade has to be built into the base. Ask how they verify slope and what they do if the existing grade doesn't support it.
-
?
Is haul-away of existing sod included in your quote? — Clarify this before comparing bids. A quote that includes removal and haul-away at $13/sq ft is not the same as a quote that doesn't include haul-away at $11/sq ft. You need to be comparing the same scope.
Full Cost Breakdown: Removal Through Completion
Here's how the numbers break down for a complete grass removal and artificial turf installation in Denver. All figures are 2026 market rates for the Front Range.
- Sod removal and haul-away: $1–$2 per sq ft (or $150–$200/day rental if DIY, plus disposal costs)
- Base preparation (excavation, aggregate, compaction, weed barrier): $2–$4 per sq ft
- Turf materials and installation (turf product, infill, edging, labor): $8–$14 per sq ft
- Total all-in: $11–$20 per sq ft
For a typical 750 sq ft backyard, that's $8,250–$15,000 for the complete project. Shape complexity, access, infill type, and turf product quality are the primary variables that move you up or down within that range.
The most common way people get surprised on cost: they get a turf-and-install quote without a full removal scope, then find out the removal and haul-away is extra. Get a single all-in number that covers every phase from existing lawn to finished turf before you compare bids.
Get a Lawn Removal + Turf Installation Quote in Denver
Xeris Landscaping handles complete lawn removal and artificial turf installation across Denver, Lakewood, Arvada, Westminster, Aurora, Englewood, and the surrounding Front Range. We'll walk your site, give you a detailed scope with base specs in writing, and quote the full project — removal through finished turf — in a single number. No separate line items discovered after the fact.